
Some people are born with a knack for drawing, sketching, or painting. Others have images in their heads but can’t seem to translate them on paper with their hands. If you’re the latter and weren’t born a natural, don’t be discouraged if this is a talent you want to dabble in. There may be natural Picassos in the world but it doesn’t mean that drawing or painting can’t be taught. Just look at Grandma Moses who became a painter at 80 years old!
And talent without hard work doesn’t get you anywhere. The most iconic artists of their time became excellent at their craft because they continuously worked hard to improve. Apart from drawing is a talent or interest, it is a skill. Developing the techniques through constant practice could help wannabe artists or expert practitioners better their craft.
If you want to start now, we listed down some drawing tips that will hopefully help you improve your skills and express yourself better:

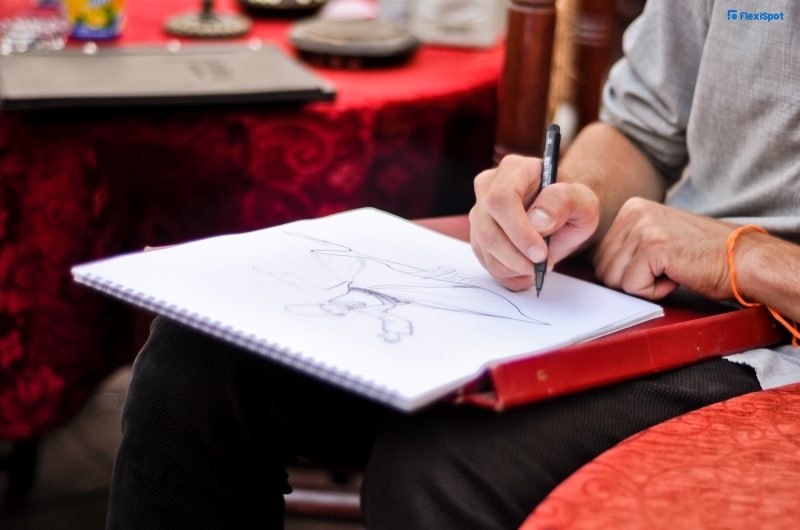
1. Draw every day.
No matter what your purpose is, make it a habit to sit down every day, pick up a pen, and draw something. It could be a stress reliever or an outlet where you want to release your creative juices. Drawing every day helps your hands be more familiar with strokes and patterns. Your mind also gets the hang of thinking and produces more ideas quickly. You might think you’re already creative but ideation is also a by-product of the experience. It will become easier for you to formulate ideas if you practice doing it every day. If you’re still at a loss because you’re just starting, relax, observe your environment and draw what you see.
2. Prepare for more complicated work strokes in the long run by warming up your hands before drawing.
There is no one-size-fits-all warm-up exercise for all artists. You would know what gets your hands and arms ready to draw if you draw every day and become more familiar with your body. Having this self-awareness will improve speed and coordination.
One example is taking the time to draw some free-form textures. According to Skillshare, you need to work in a broad surface area with a piece of paper and a fine-point drawing pen. Your job is to fill in the whole paper with clusters of different textures and arrangements. It shouldn’t take you so long. Don’t mull over what to draw because this is not an exercise for your mind but rather for your hands. What matters is how many you’ll be able to draw in a short span of time.
Skillshare also suggests setting up a five-minute timer while you doodle small shapes and lines on one corner of the paper. You should focus on how fast and slow you go while creating various textures. Afterward, assess your drawing and spot patterns in the doodle.
Continuous line drawing is another exercise you can try, helping you to disassociate drawing from perfection. The goal is to achieve creative expression by letting go. What you’ll need is a medium point felt-tipped pen, a subject, and a blank sheet of paper. Draw continuously without lifting the pen until you’ve finished drawing your subject.
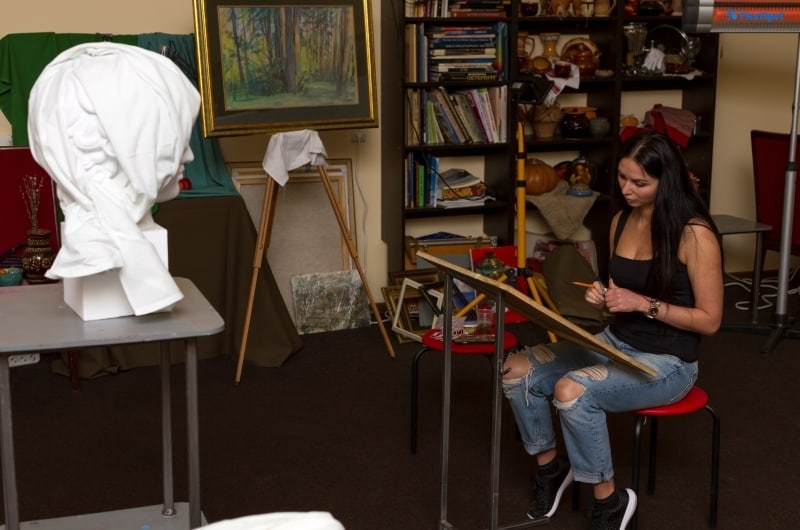
3. Draw from a perspective.
In the drawing, perspective is defined as the angle where you see and view your subject. The perspective is dependent on various factors including the subject size, your proximity to the subject, and the form of how you are seated or standing.
Perspective is an advanced drawing skill and many have attested its difficulty to master. Regular practice is needed to train the mind and exercise the hands so that you could draw what you see. Try the gridded room exercise and use the guide points to shape your idea of the perspective. Pick up a ruler and use a tiltable table so you could adjust the desktop at your preferred angle.
4. Give focus on the proportion.
If you want your drawings to look more realistic, then perspective and proportion are two things you have to keep your eyes on. As mentioned, perspective is the viewing angle. Proportion is the subject scale that depends on its relationship to height, width, and depth.
Draw with grids to practice proportion. First, choose a subject and print it out. Draw vertical and horizontal lines over the image that is one inch wide apart. Label each horizontal line with numbers and each vertical line with letters. Put it beside a blank sheet of paper where you will copy the grid by looking at the coordinates (the letter and number), copying it on your drawing paper. This is how you compartmentalize the drawing to accurately draw the right proportions. Master this and over time, you’ll be drawing with imaginary grids.

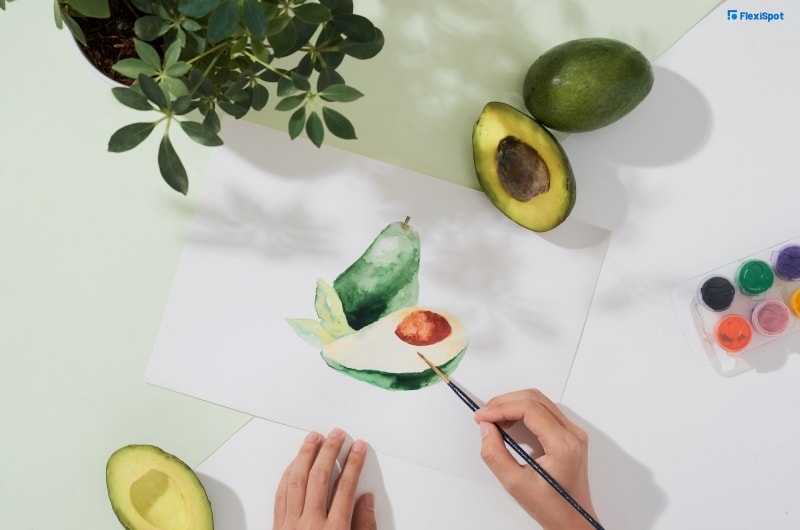
5. Practice drawing shapes.
Mastery of drawing shapes will allow you to create intricate and detailed patterns. Soon, you’ll be filling your sketchbook with pages of abstract art. You’ll be training your eye to look at photographs or at your subject where you could identify the basic shapes that build their foundation.
A fun exercise is to cut photos from magazines and using a black marker, trace all the shapes that you can find in the photograph. The more you practice, the more your eyes become trained to see shapes in the natural world that will help improve your drawing.
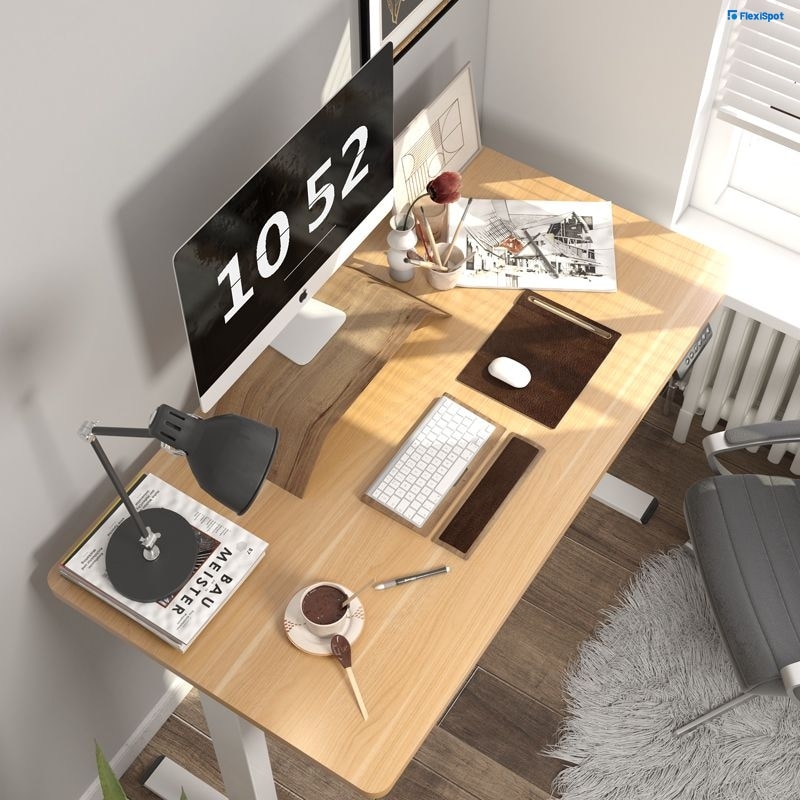
Desk We Recommend:
EF1-42''W Electric Height Adjustable Standing Desk
If you don’t have a drafting table, you may use a standing desk from FlexiSpot. The EF1-42”W is the perfect fit for any space. It’s electric and height-adjustable and you don’t need that much space to fit it in. The weight capacity is 154 pounds or 70 kilograms. The motor hardly makes any noise and does not exceed 50 decibels. The lifting speed is one inch per second and could go up and down smoothly with heights ranging from 27.9” to 47.6”. The height programmable control panel has four memory buttons with four sitting and standing heights. You could change your posture anytime when you’re drawing with just a single touch. The desktop is also spacious at 48” x 24” with a thickness of 0.7”